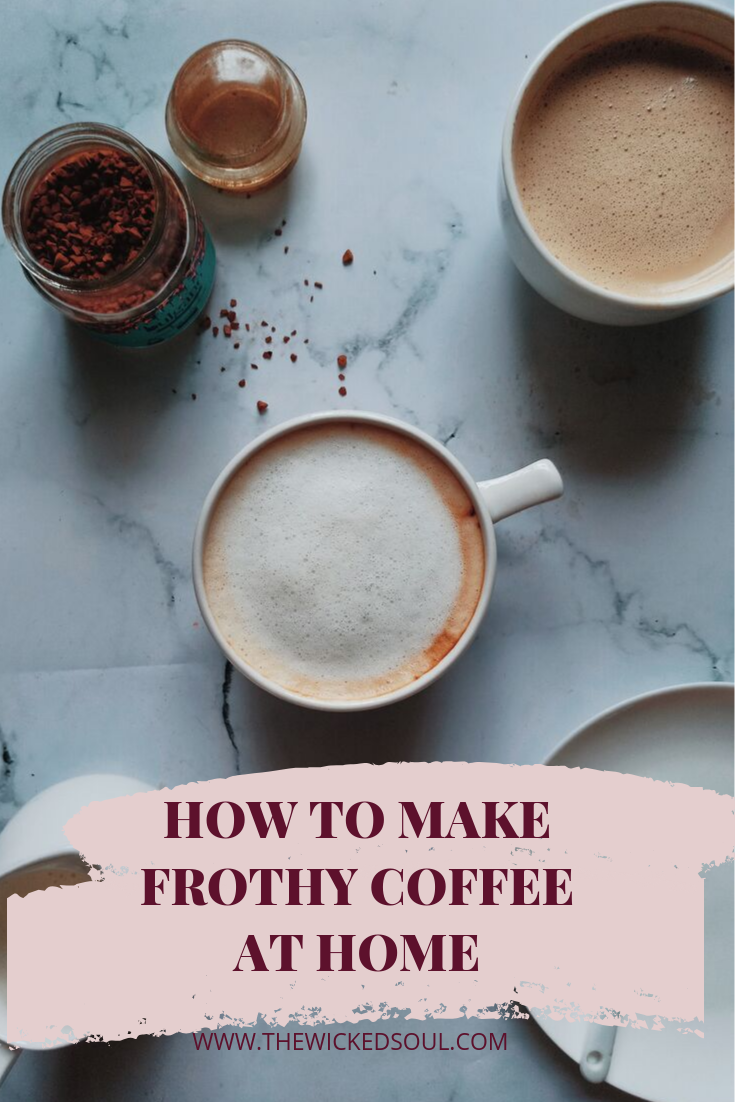
6 ways to make Frothy Coffee without an Espresso machine:
If I had a dollar every time I was asked “How I make my coffee” I would be a millionaire by now. Alas, I am not yet but thank God I have coffee. Every time I post a story of perfectly frothed coffee, my DM would get flooded with messages asking for the steps and ways to make the same frothy coffee at home.
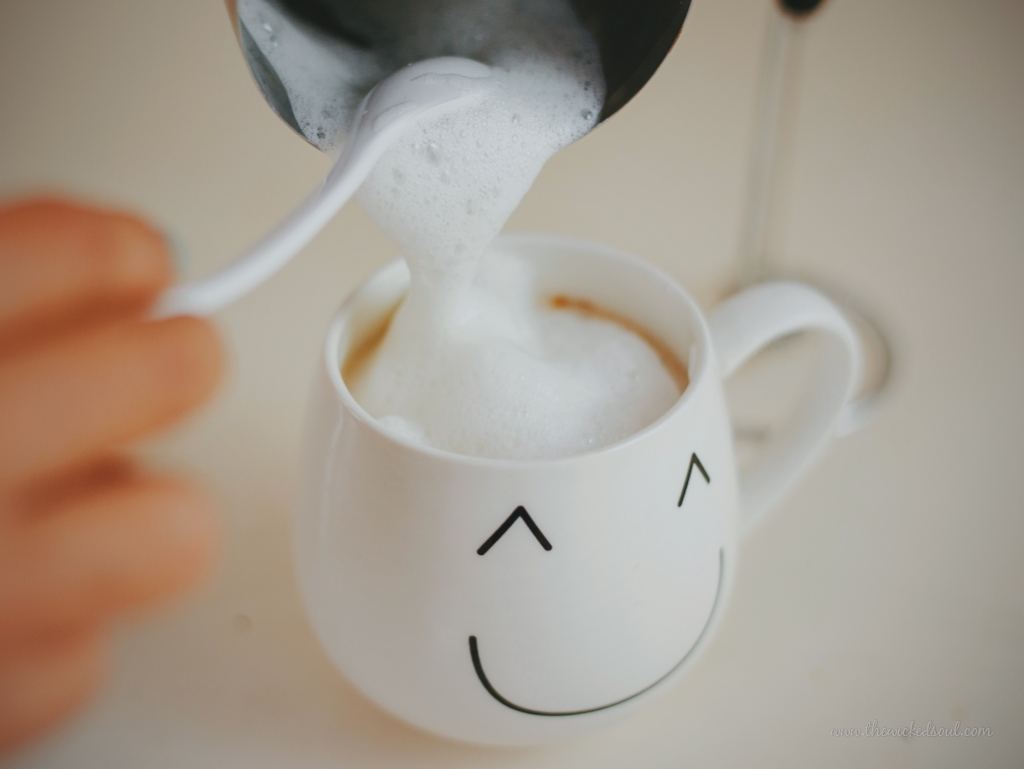
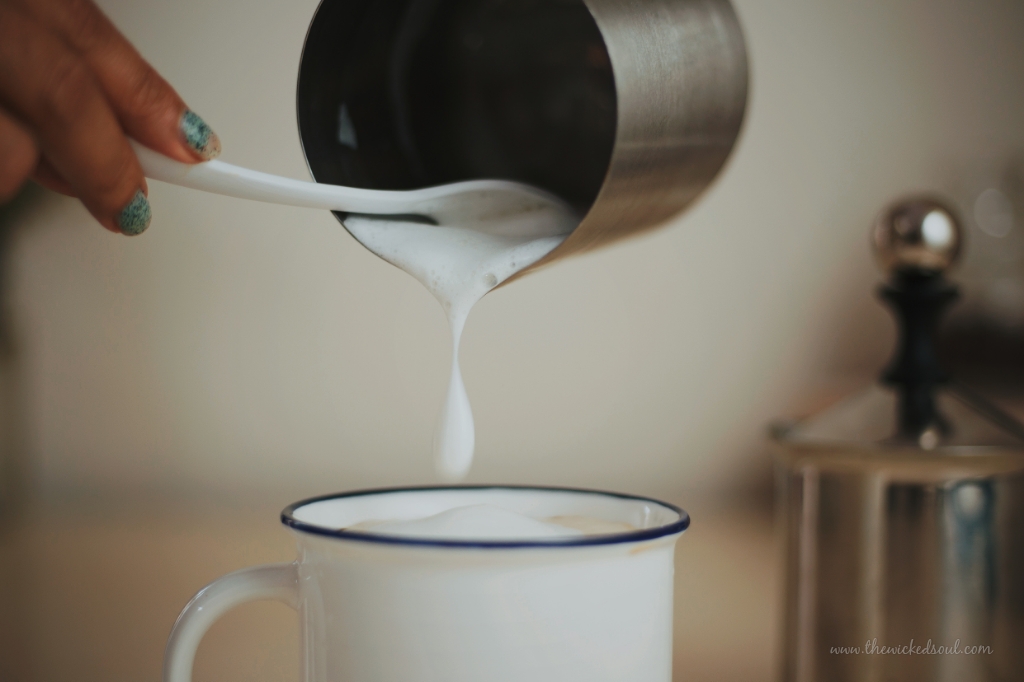
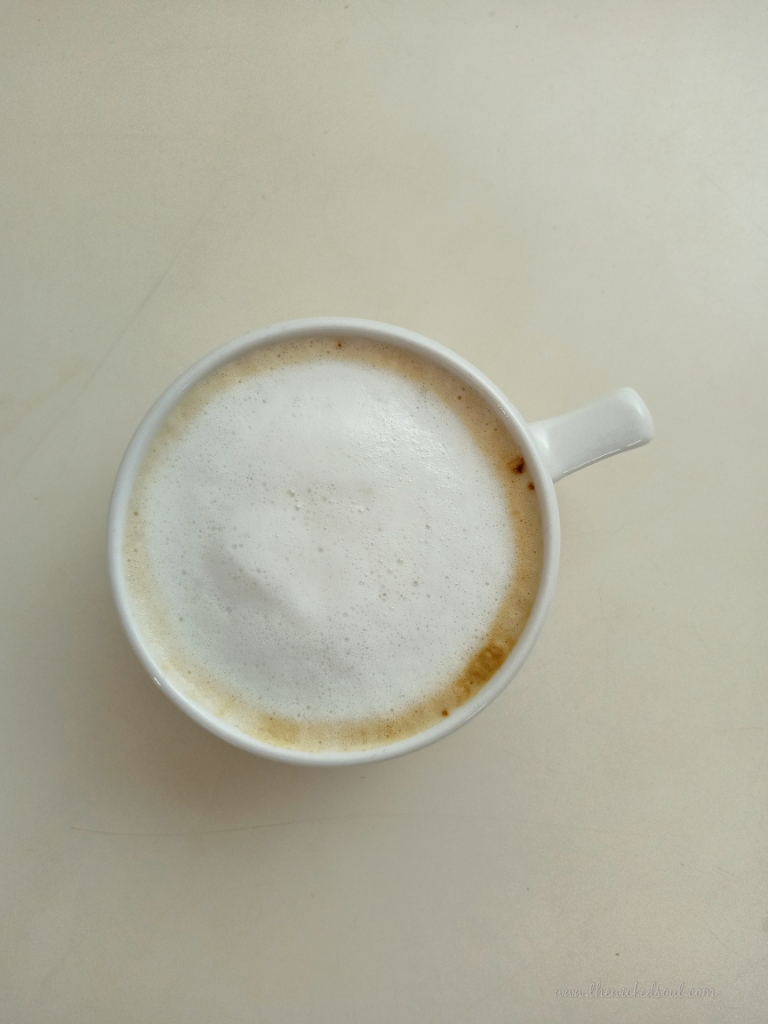
The simplest way to save your daily bucks spent on coffee is to brew yourself one at home. You can be generous with how much foam you want on your coffee, for me, it must be plenty, always!
Now you might be wondering whether I have a bulky and expensive coffee machine or any other fancy apparatus at home that I use for my coffee creations. The sweet truth is that I don’t.
Today, I am spilling the beans on How to make Frothy Coffee at home without an espresso machine.
I have done a detailed video on my Youtube Channel showing all the steps but for the simple love of reading, scroll further to know more.
Here are a few quick tips to note before we begin the actual steps:
- Always use Cold milk to heat it as it results in better texture and silky-smooth foam
- For all of the following methods, heat your milk between 120 and 140 degrees Fahrenheit (60-68 Celsius) before frothing. If the milk isn’t hot enough the froth won’t get the right texture and sweetness. If the milk is overheated and scalded, then it would have a burned taste and wouldn’t be enjoyable.
- Froth as per your desired requirement, I’d say anything between 15-45 secs is a good amount of Froth.
- After Frothing you’ll find some bubbles on the surface. Bubbles are cute and all but for a smooth foam, bubbles are a big NO NO!
- Tap the frothing Jar to pop large air bubbles and give it a good swirl to make the milk a bit more uniform and smoother.
- Most importantly, fill the jar only up to half as frothing expands the volume and you don’t want to spill.
Following are 6 ways to make Frothy Coffee at home without an Espresso machine:
(Below are some of the links of the products I have been using and find them extremely helpful)
1: Hand Whisker:
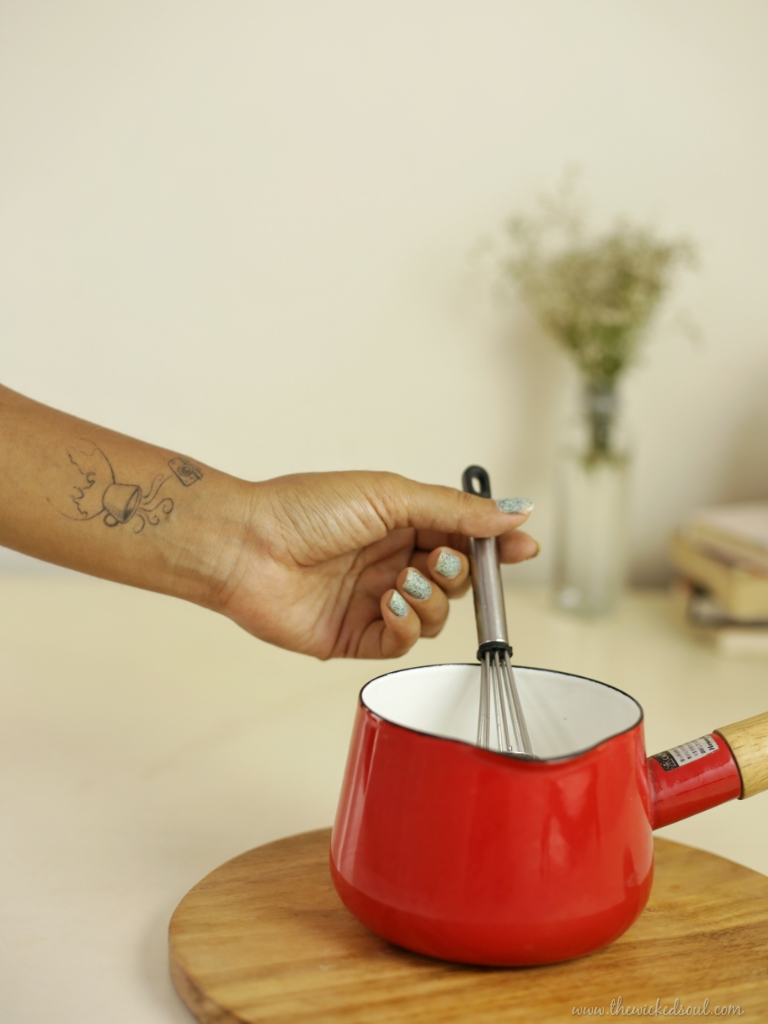
Once the milk is heated in a saucepan you can use the whisker in the sauce pan itself or transfer the milk in a cup or a jar. This is the cheapest method; however, it takes a while to froth depending on your speed. Whisking in a back-and-forth motion is quicker than a circular motion. The foam with this method is light and airy and you’ll see many tiny bubbles which is absolutely fine.
2: Frothing wand:
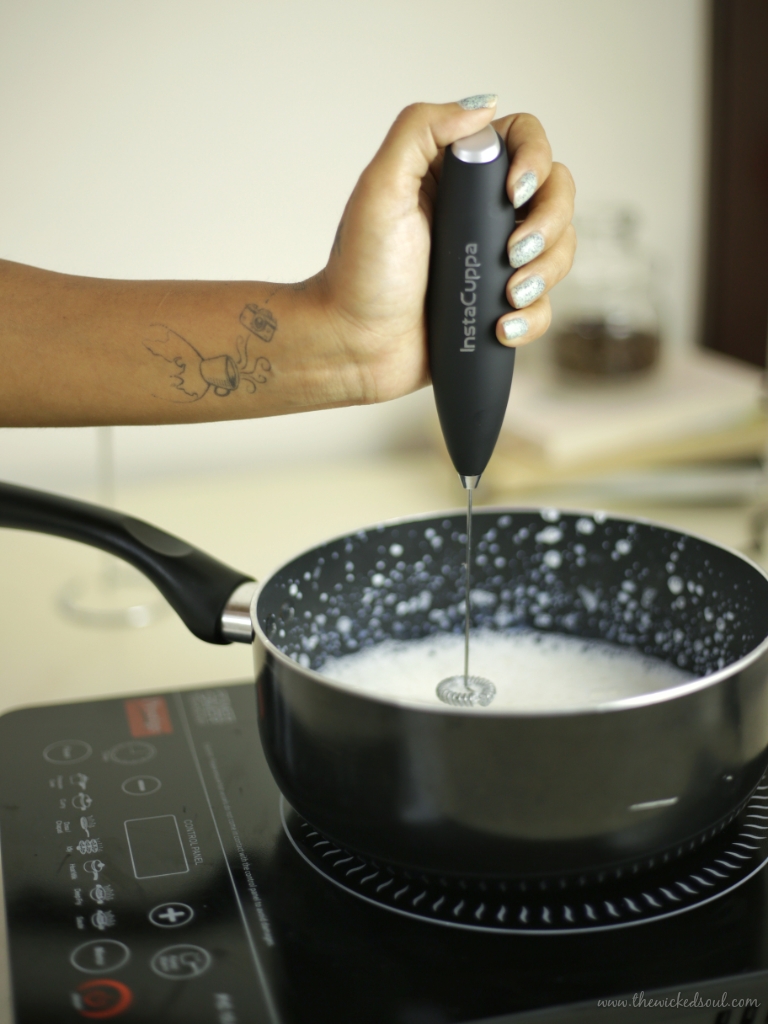
It is battery operated, easy to use and clean. Pour the warm milk in a Jar and froth by tilting the Jar at an angle. It creates a nice swirl of silky foam. The longer you whisk the denser the foam gets. For Latte art, whisk it for just about 15-20 seconds and Voila and you have perfect ready-to-pour milk for latte art.
3. Mason Jar:
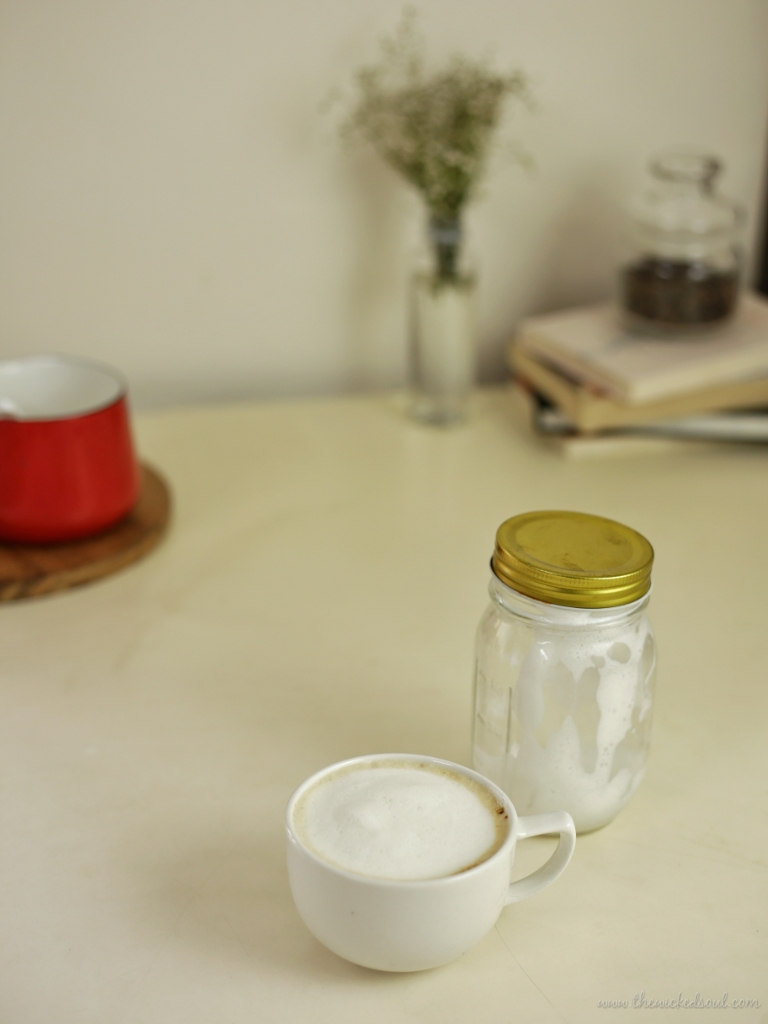
This one comes handy when you don’t have any equipment around. Pour milk in a mason jar, screw the lid on very tightly, and shake away! Shake it at least for 30 seconds to get Instant Foam ready. Please note that shaking the milk causes large bubbles and this method does not apply if you are planning to make latte art. But it works best for good old huge foam floating in your coffee mug.
4.Vacuum Flask:
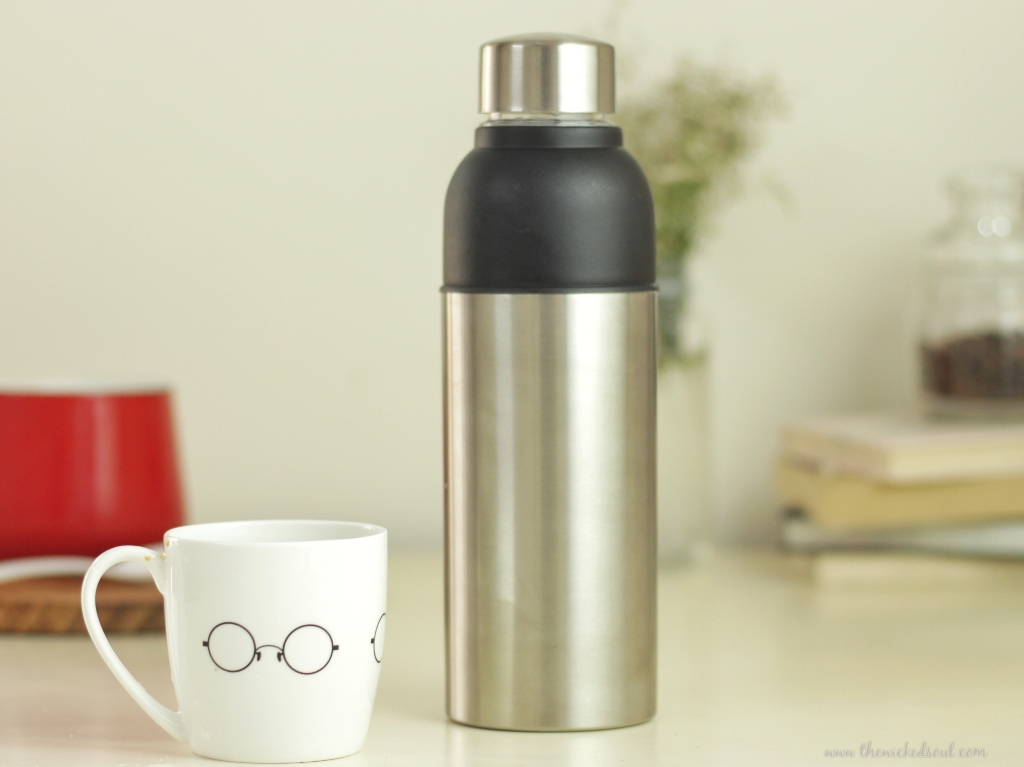
The heat proof flask helps to froth milk without worrying about it being too hot. Pour Milk in a hot flask, secure the lid and shake it vigorously. In about 15 seconds perfect froth is ready to be poured on your coffee.
5.French Press:
This is my favorite way to froth milk for coffee. I have been using a French press for over a year now and love its multi-functionality. It can be used to make Coffee, cold brew and even froth milk for latte art. Pour milk into the French press up to around the halfway mark and pump the handle vigorously, holding down the lid. Give it a good swirl and some fantastic smooth foam is ready.
6. Frothing Plunger:
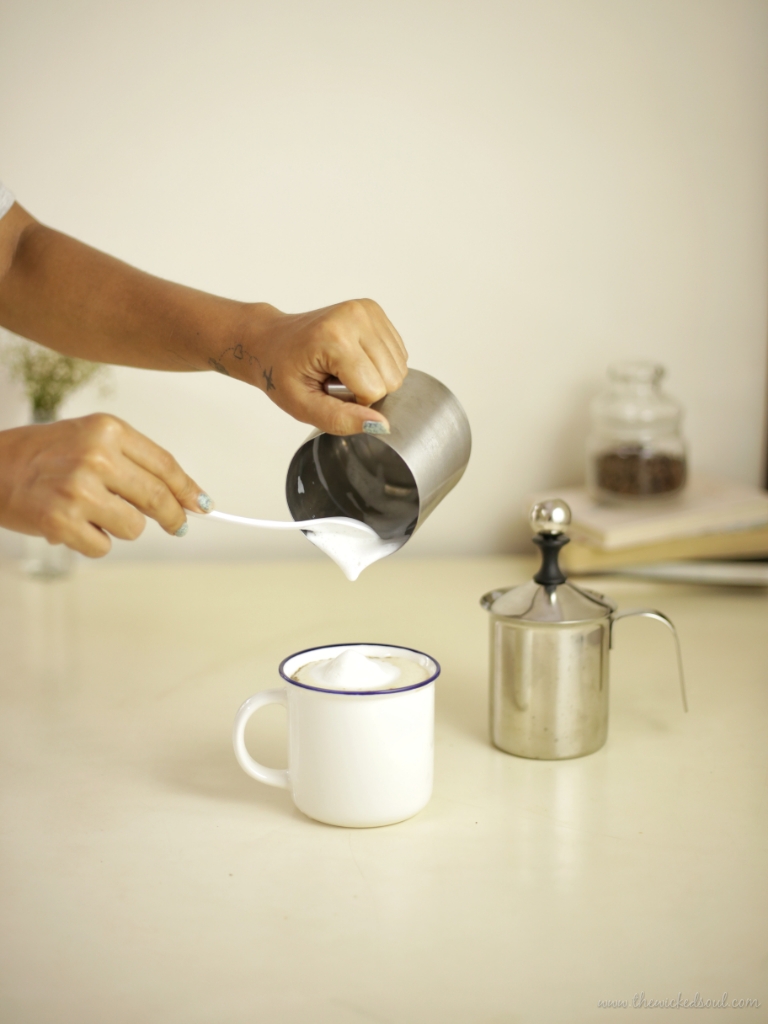
This is quite like a French press, the only benefit being its stainless-steel durability which makes it easy to use without the fear of breaking. The major drawback with this compared to a French Press is that you cannot see from the outside if the milk is foamed already.
Heat milk and pour into the pump frother. Like a French press, pump the handle up and down for 10–15 seconds, tap the jar, swirl and pour.
These are all the basic equipment which are much cheaper than a hefty Espresso Machine to froth milk. You can also use the old traditional method of frothing milk like transferring hot milk from one jar to another if you are an expert in Filter Kapi tricks. The Blender is another way to froth milk, but I find it messy to clean afterwards.
If I were to pick one method which I found effective in terms of simplicity and cleanliness, the French Press tops my list followed by the Frothing wand. They both create beautiful shiny foam and are perfect to use for pouring Latte art.
Have you tried any of these frothing methods at home?
Let me know in the comments below.
Until then,
TheWickedSoul
Special thanks to @Sasha.okay.please for helping me with the video and shots shared above.
This Blog is not sponsored by any brand, all the products mentioned above have been personally used.
Frothy Coffee at home without an Espresso machine!
Watch the video of Homemade Cappuccino and Subscribe to my Youtube Channel here.

